
Prime and hold
Prime using a documented method, stop the machine and inspect whether product drains back or air migrates into transparent sections of the path.
Product and process troubleshooting
Air bubbles in liquid filling can be introduced before the filler, drawn into the suction side, trapped during priming, generated by agitation or cavitation, or retained by the product because of its viscosity or surface behaviour. The corrective action depends on where the air enters. A controlled check should follow the product from the source vessel to the nozzle and compare the first fills, steady running and refilling conditions.
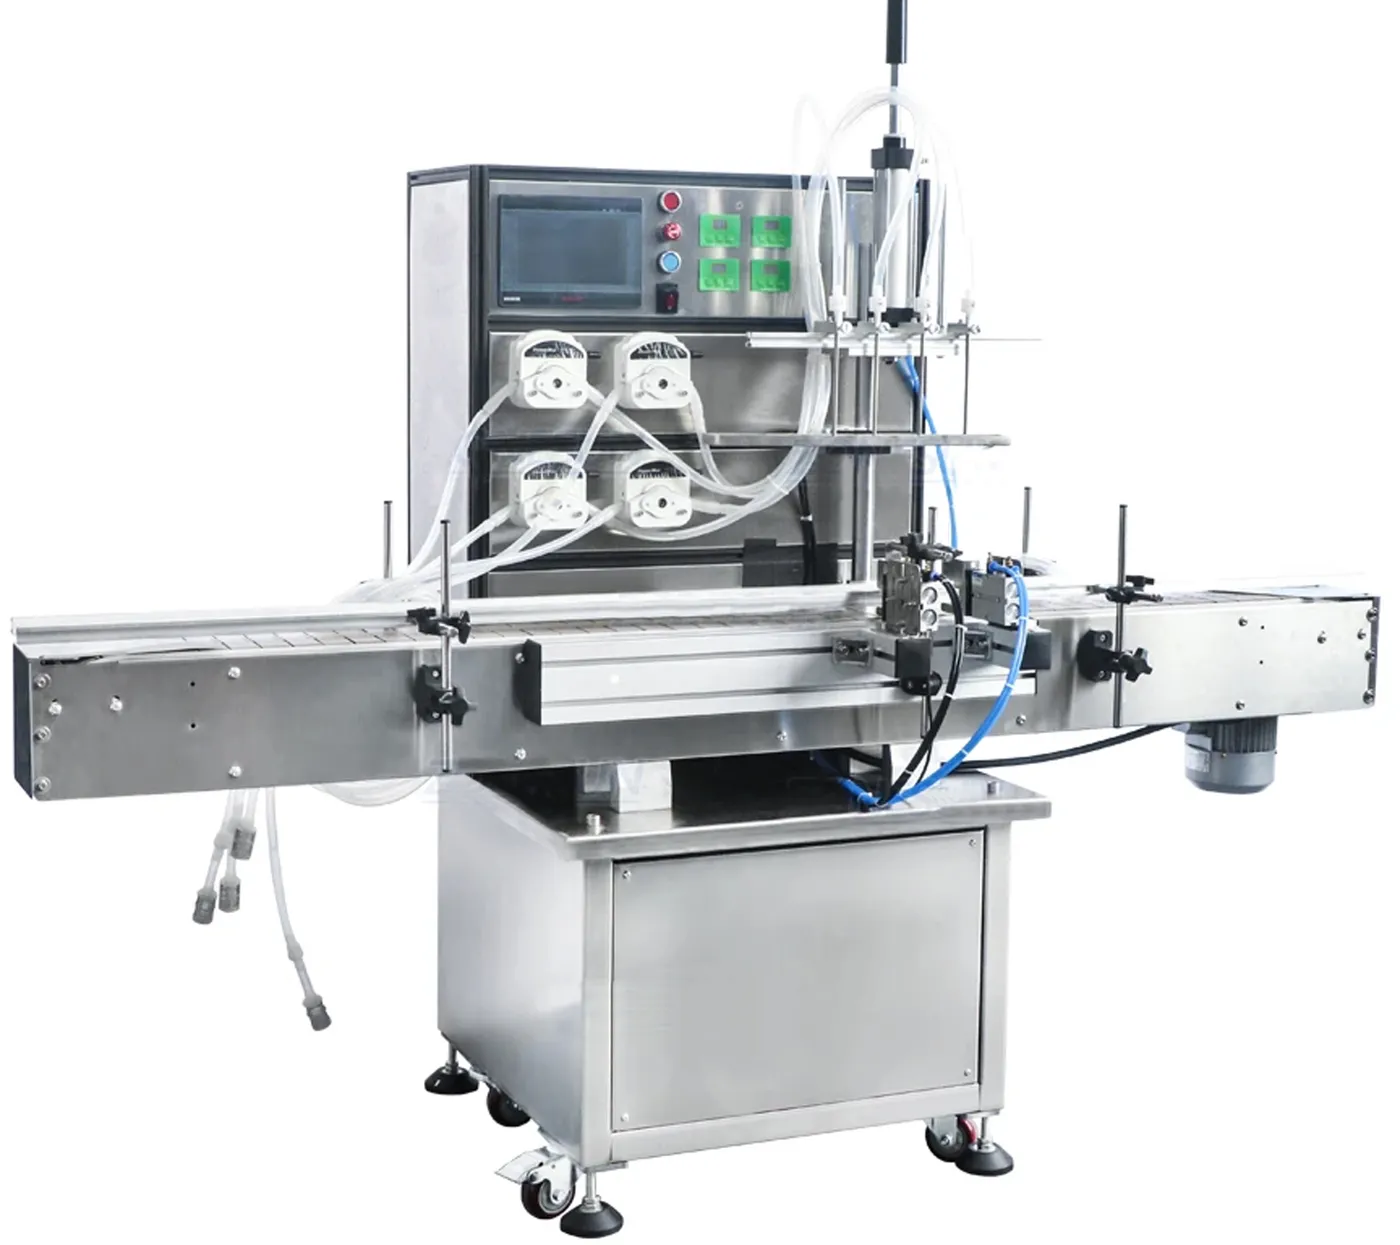
Locate the source before changing settings
Observe the source, inlet, meter and discharge separately where safe and practical.
| Possible source | Typical observation | Controlled check |
|---|---|---|
| Aerated product supply | Foam or fine bubbles are already visible in the source vessel | Take a sample before the filler and compare it after a defined standing period. |
| Low source level or vortex | Bubbles increase as the vessel empties or during fast withdrawal | Repeat at controlled source levels and inspect pickup position and return flow. |
| Suction-side leak | Intermittent bubbles appear without obvious external liquid leakage | Inspect hose ends, clamps, seals and valves; use a controlled prime and hold check. |
| Incomplete priming | The first fills contain large voids that reduce as running continues | Record the priming method and first-fill sequence rather than discarding evidence. |
| Excessive inlet restriction or cavitation | Noise, unstable flow or bubbles increase at higher speed | Reduce speed for comparison and review hose length, bore, lift and product condition. |
| Agitation or recirculation | Bubbles follow mixing, high return velocity or product replenishment | Change one operating condition at a time and observe the time taken to recover. |
| Nozzle impact and turbulence | Air is folded into the product as it enters the container | Compare nozzle position, fill profile and bottom-up filling where appropriate. |
Use a sequence-based diagnosis
Record what changes between start-up, steady running and replenishment.
Prime using a documented method, stop the machine and inspect whether product drains back or air migrates into transparent sections of the path.
Keep product level, temperature and mixing constant while collecting sequential packs. Note whether bubbles reduce, increase or cycle.
Alter source level, speed, hose route, nozzle position or agitation separately. A simultaneous change can produce a better pack without identifying the cause.
Decide whether the concern is quantity variation, visible bubbles, foam height, closure contamination or settling time, because each may need a different remedy.
Clear answers
The answer depends on the product, pack and operating conditions, so the relevant variables should be recorded rather than assumed.
Compare a product sample taken before the filler with product leaving the nozzle under controlled conditions. If air is already present in the source, investigate mixing, transfer and standing time. If it appears only after the inlet, inspect prime, suction connections, valves, pump conditions and nozzle turbulence. Sequential observations are more useful than one finished container.
A slower fill may reduce turbulence, cavitation or impact at the container, but it will not repair an air leak or remove gas already dispersed through the product. Use speed as a diagnostic comparison and check whether the bubble source changes. The final setting should still be tested through normal starts, stops and source replenishment.
Refilling can introduce splashing, entrain air, disturb settled product, change temperature or create a vortex near the pickup. It can also alter inlet head pressure. Record the refill method and the number of fills needed to recover. The production process should define whether filling pauses during replenishment or whether the supply arrangement prevents the disturbance.
A suction-side leak can draw air into the product path without pushing liquid out, especially when the pump creates negative pressure. The resulting compressible pocket changes how much liquid reaches the nozzle and can create intermittent short fills. Hose joints, clamps, seals, non-return valves and pickup fittings should be checked as a complete inlet system.
A product should be allowed to stand when the intended production process includes a defined deaeration or settling stage, or when mixing and transfer are known to introduce air. The standing time and temperature must be recorded. It should not be used to make an unrealistic sample look easy if production product will arrive at the filler in a different condition.
Continue your specification
Use the next guide that matches the unresolved part of the application.
Review pickup, source level, hose and replenishment conditions.
Diagnose air entry, drain-back and unstable inlet conditions.
Use a structured symptom, cause and evidence process.
Send the product, container, target quantity and production context so the filling method and trial scope can be reviewed.