
1. Make the condition safe
Stop production, contain product and isolate energy before physical intervention. Record the machine state and any active alarm first.
Liquid filling machinery guidance
A visible fault at the nozzle may begin upstream in the product supply, recipe, container presentation or measurement method. Use a controlled diagnostic sequence and change one variable at a time.
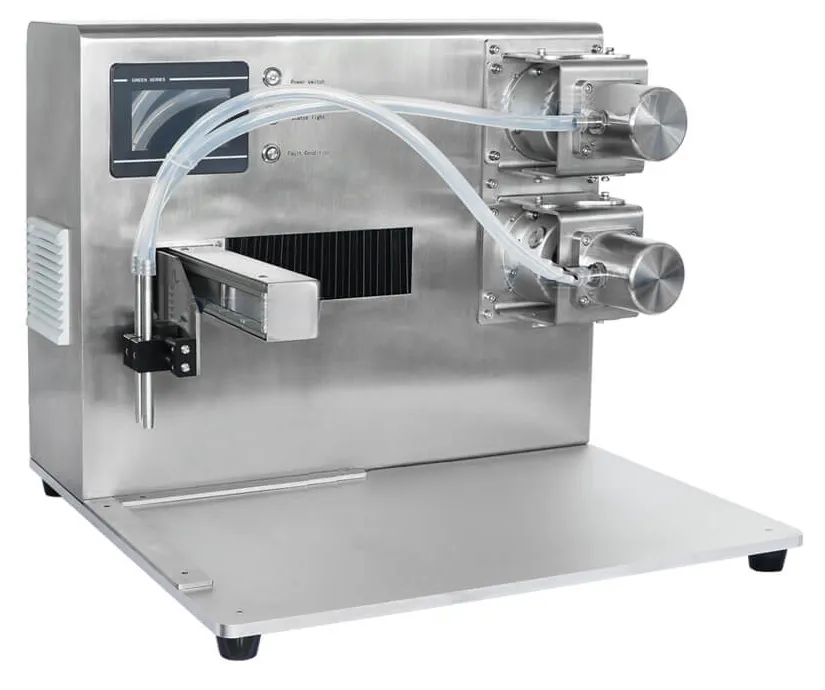
Diagnose safely and systematically
Fault-finding must not bypass guards, interlocks or safe isolation.
Begin with a precise description: which product, pack, recipe, head, time and operating state are affected? Record whether the fault appears at start-up, after refill, at low source level, during a speed change or only on one container format. “Inaccurate filling” is too broad to diagnose until the measurement method and pattern are known.
Preserve the original settings before changing them. Compare a known-good recipe, another head and a stable product condition where safe. One deliberate change with measured before-and-after evidence is more useful than several simultaneous adjustments.
Symptoms and first checks
The same symptom can have more than one cause, so confirm the pattern.
| Observed symptom | Possible process areas | Checks before parts are replaced |
|---|---|---|
| Fill results drift together | Source level or pressure, product temperature, density, air ingress, recipe or calibration. | Trend results against time, refill events and product condition; verify the measurement method. |
| One head differs from the others | Head-specific tube, seal, valve, pump, nozzle, calibration or obstruction. | Swap only an approved interchangeable component or compare head data under safe controlled conditions. |
| Drip or string after shut-off | Nozzle closure, suck-back setting, product stringing, pressure, worn seal or trapped air. | Observe the end-of-fill profile, pressure decay and nozzle condition; do not mask leakage with excessive suck-back. |
| Foam or splash | Fill velocity, nozzle position, falling distance, turbulence, entrained air or product temperature. | Check slow/fast fill stages, bottom-up motion, product feed aeration and bottle geometry. |
| Bubbles or intermittent flow | Air leak, empty supply, vortexing, poor priming, cavitation or gas released from product. | Inspect source level, hose connections, suction restriction and priming sequence. |
| Missed or double-filled container | Photoeye alignment, reflective/translucent pack, spacing, conveyor slip, reject logic or restart sequence. | Observe sensor state and pack spacing at normal speed; verify controlled restart after a stop. |
| Unstable line output | Infeed gaps, accumulation, downstream stop, operator task, refill or repeated minor faults. | Time good packs and record stop categories rather than focusing on nominal filler cycles. |
| Leak after cleaning or changeover | Incorrect seal, loose connection, damaged hose, trapped part or wrong assembly. | Compare against the approved assembly sequence and inspect before pressurising. |
Use a controlled fault-finding sequence
A repeatable diagnostic record prevents the same fault being rediscovered.
Stop production, contain product and isolate energy before physical intervention. Record the machine state and any active alarm first.
Check scale tare, units, sample handling, container variation and whether volume is being inferred from weight using the correct density.
If every head changes together, look upstream or at shared settings. If one head changes, focus on its local metering and nozzle path.
Record temperature, viscosity behaviour, source level, feed pressure, mixing, recirculation and recent refill or batch changes.
Verify recipe, format parts, nozzle height, sensors, speed stages and changeover assembly against the approved setup.
Use a small controlled sample, keep the original setting, and record whether the expected result occurred before proceeding.
Evidence for remote support
Good evidence can distinguish a settings issue from a mechanical, product or integration issue.
Provide model or project reference, serial number where available, software/recipe name, format and recent changes.
Use a short video showing the full sequence and close photographs of the affected area, alarm screen, nozzle result and container. Do not film unsafe access.
Send individual fill results, timestamps, head numbers, product condition and container details rather than only an average.
State what occurred before the fault, whether it clears after restart, what has already been checked and whether any parts were changed.
Confirm whether there is leakage, pressure, electrical damage, guard/interlock concern or hazardous product that prevents further testing.
Identify the drawing, part number or manual section used so the same component is being discussed.
Troubleshooting questions
Do not continue production simply because the machine can be restarted.
Temperature, density, viscosity, air content or solids distribution may have changed. Check the batch condition and feed arrangement before assuming the metering device has failed.
Pressure can relax, product can drain or settle, tubing can recover and air can enter during a stop. The start/restart sequence should be part of the acceptance test.
It can if the metering or feed system cannot complete and stabilise within the available cycle. Confirm actual delivered quantity and product supply rather than changing timing blindly.
A local shut-off seal, tube, valve, obstruction, nozzle setting or trapped air may differ. Compare the affected head with a stable head using the approved maintenance method.
Stop when there is a safety concern, uncontrolled leak, damaged guard or interlock, uncertain product quality, repeated out-of-tolerance fill or risk of further machine damage. Follow the site escalation procedure.
Safe maintenance context
The UK Health and Safety Executive explains that maintenance of work equipment can introduce non-routine hazards and should be planned so equipment remains safe and reliable. Site procedures, competence and isolation requirements govern any intervention.
Continue the specification
Prepare a useful enquiry
Include the machine reference, product, pack, recipe, alarm, measured results and safe video or photographs so the likely subsystem can be narrowed before parts or settings are changed.